How to Save Tomato Seeds

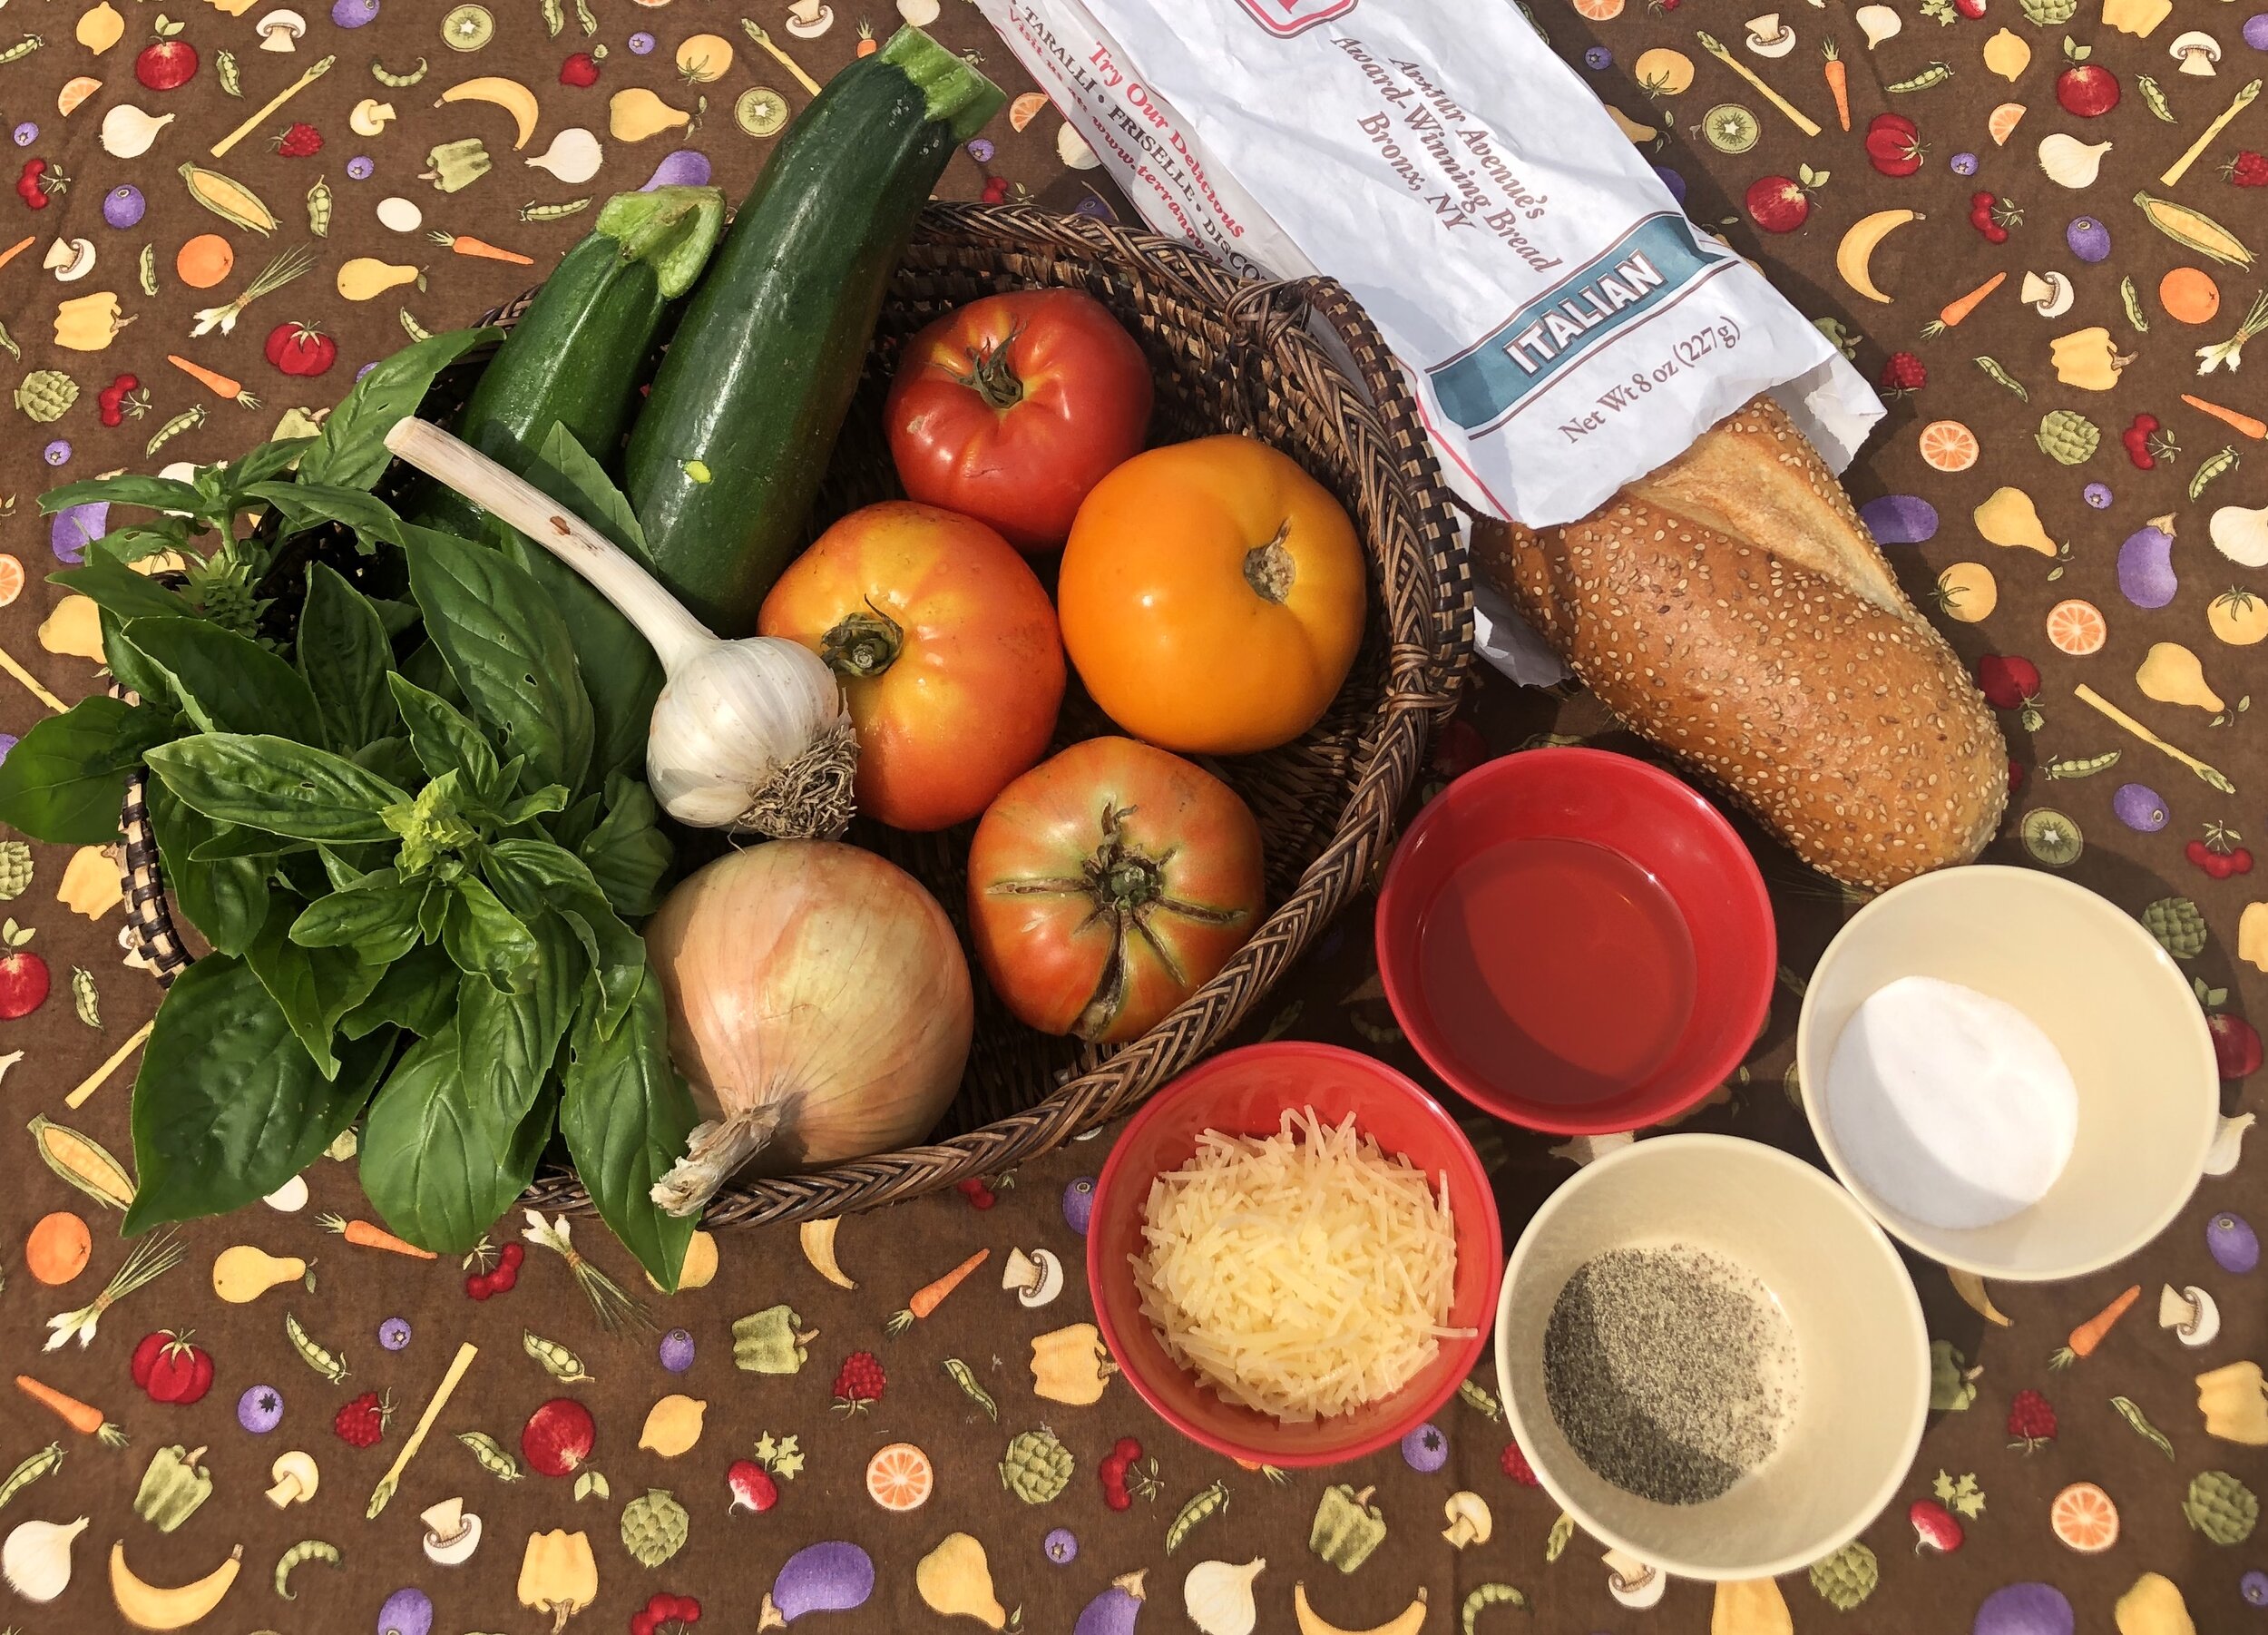
How to Save Tomato Seeds with Ben, Jamie and Kathryn

Summer is the time to not just enjoy your fresh garden tomatoes, but to save seeds for next year! Learn how to get started with Ben, Jamie and Kathryn at PFP's seed saving garden. 

Supplies You'll Need:
- At least one ripe tomato
- Tall glass or plastic container, and rubber band and paper towel to cover
- Strainer
- Plate or tray to dry the seeds on
- Seed packet or other storage container and a marker to label your seeds

Steps: 
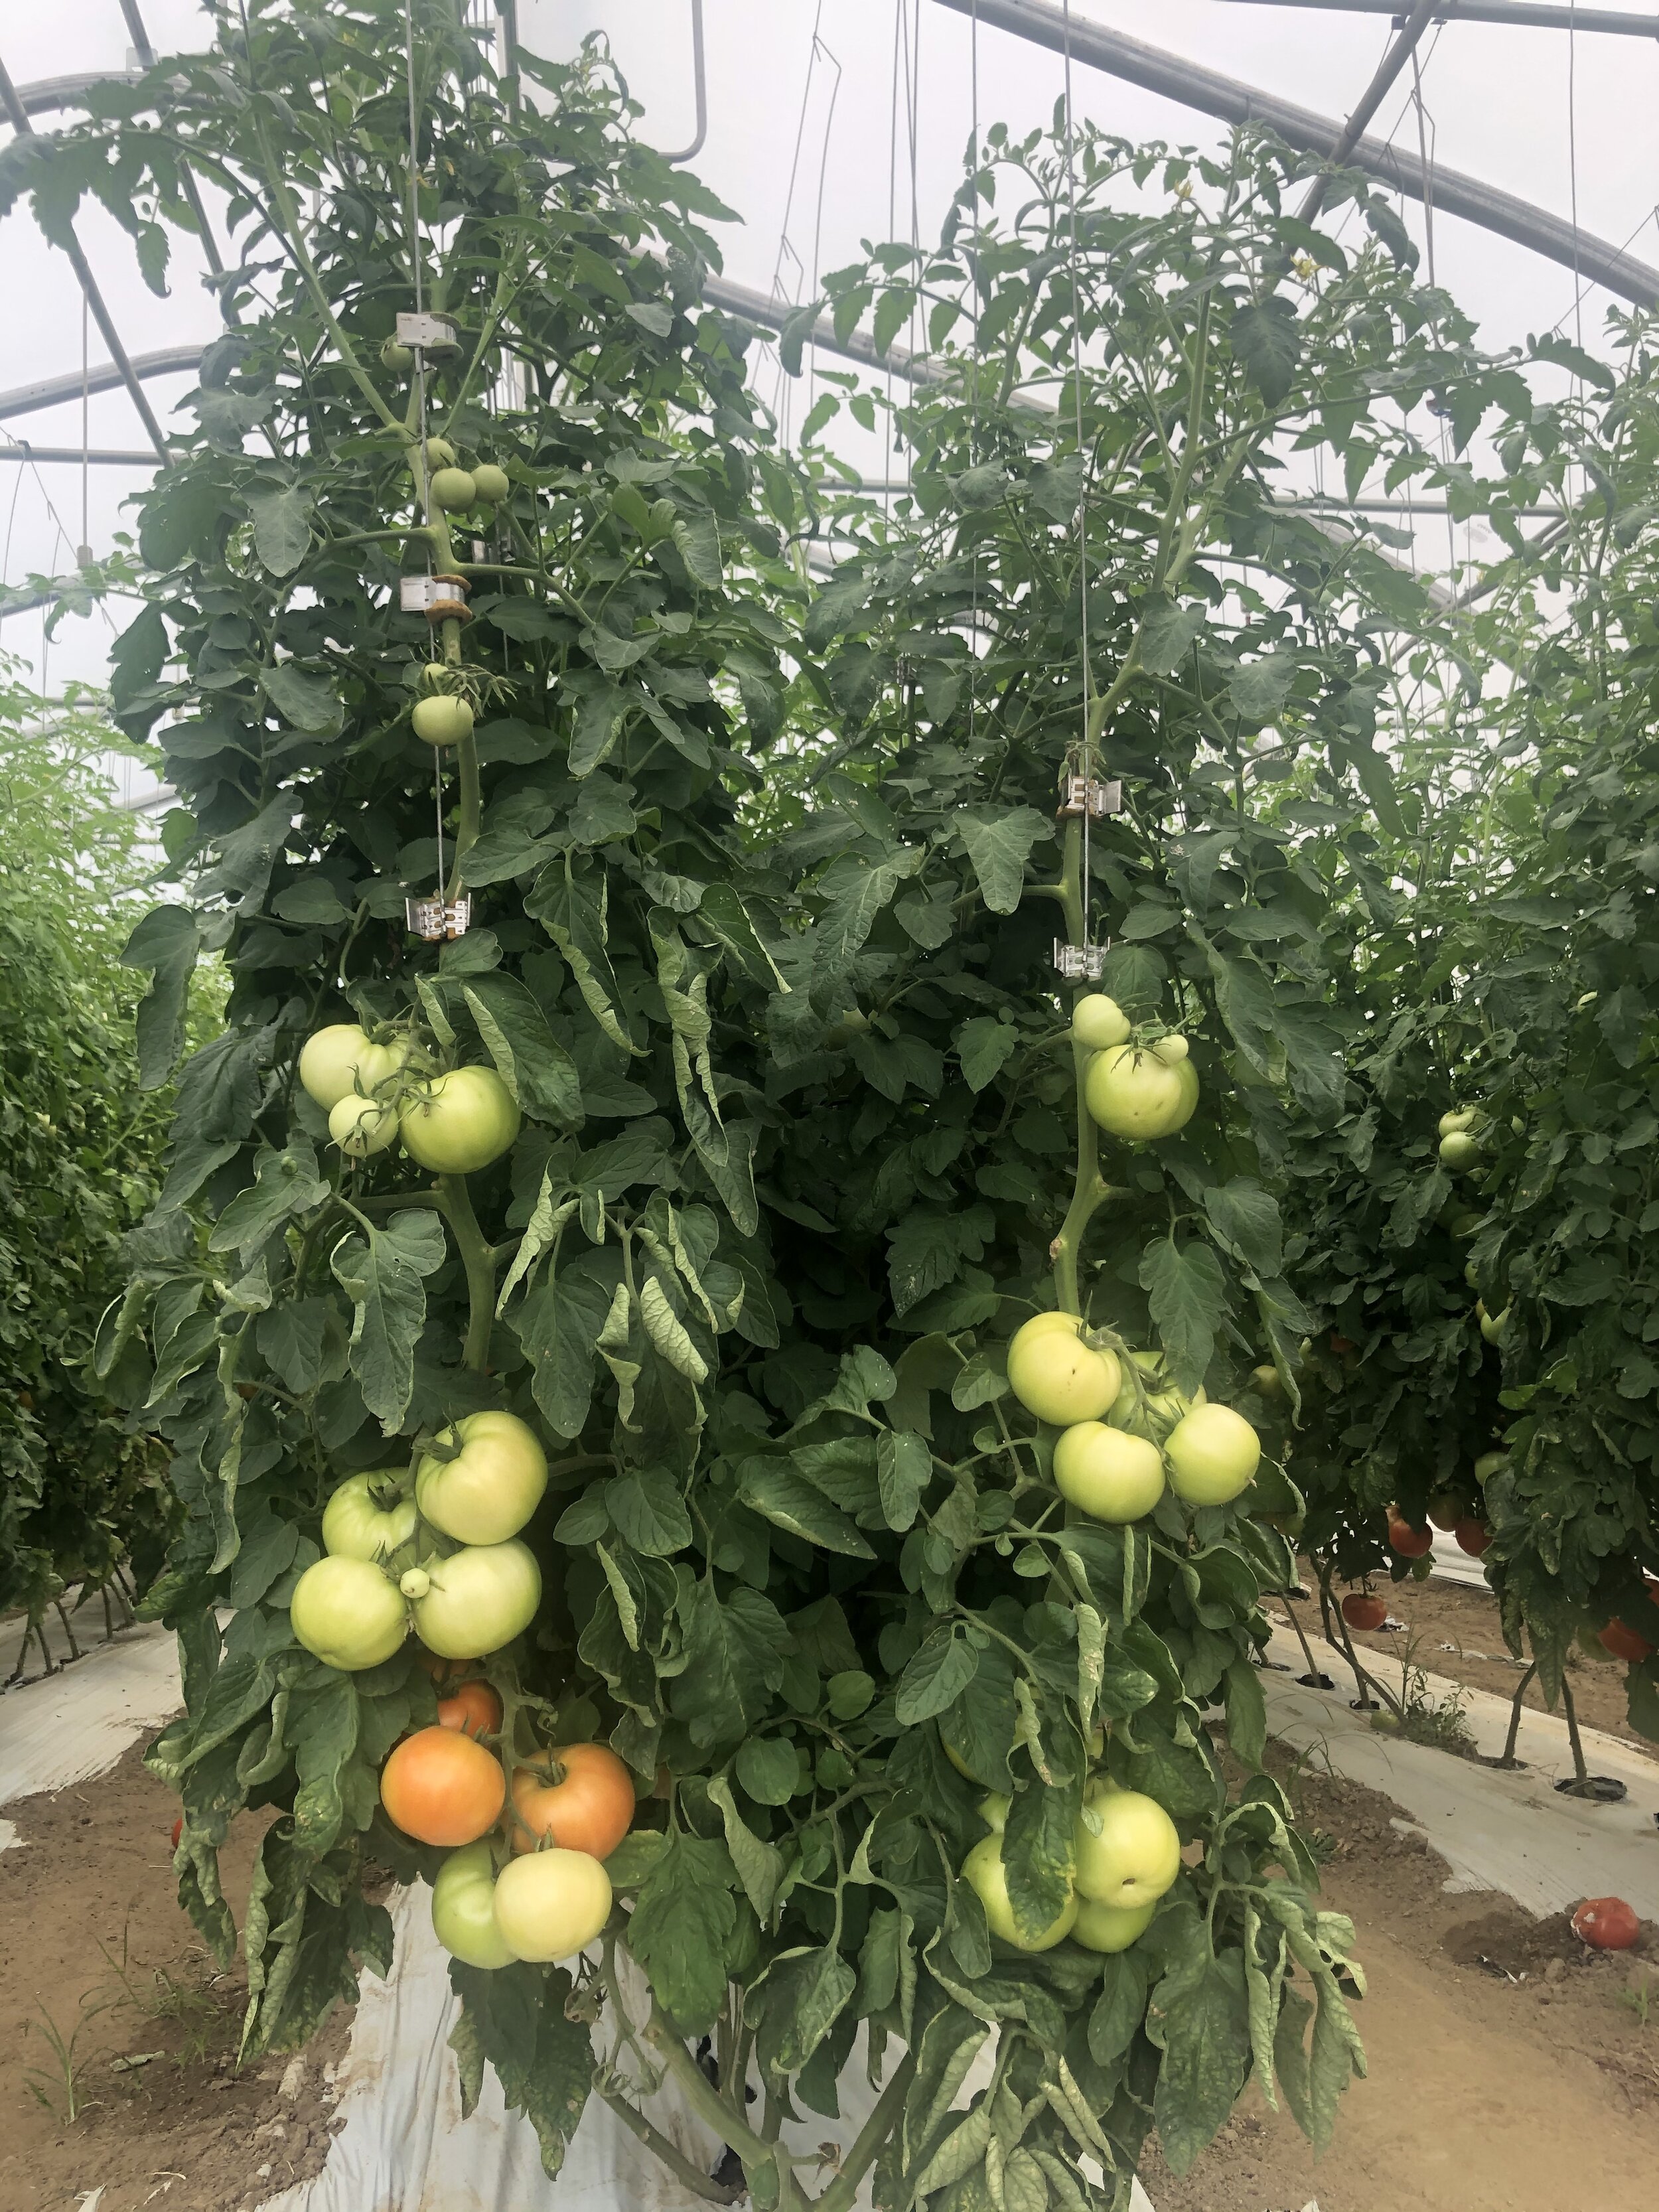
1. Pick a ripe tomato.
2. Scoop out seeds into a tall container with your hands or a utensil.
3. Add water, cover and let ferment for 3-5 days.
4. Decant off mold and floating pulp until you have just your clean seeds at the bottom on your jar or container.
5. Strain and rinse throughly.
6. Set out to dry until stiff, 1- 4 weeks. 
7. Store in a cool, dry, dark place in a seed packet or a sealed container with a desiccant such as silica gel. 

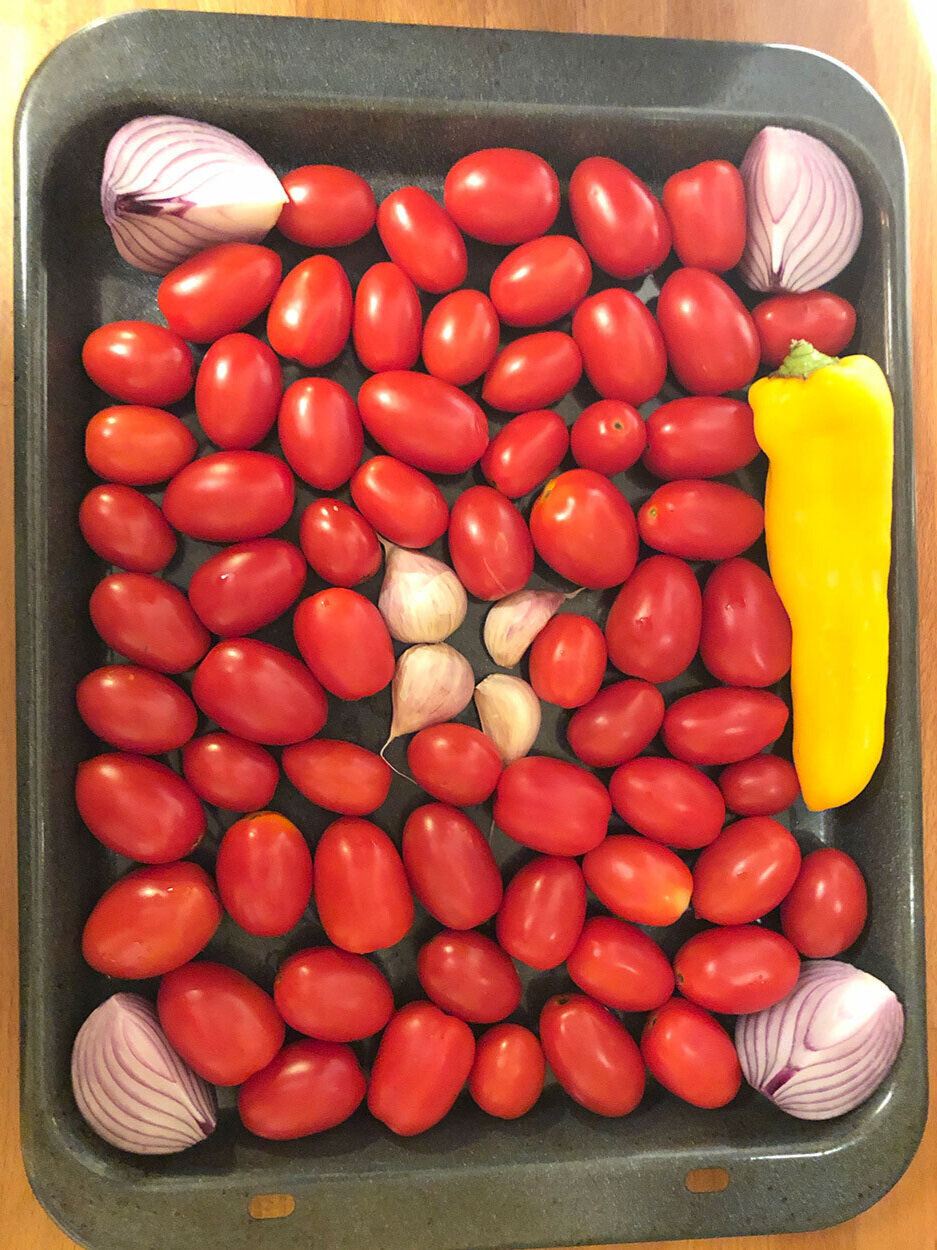
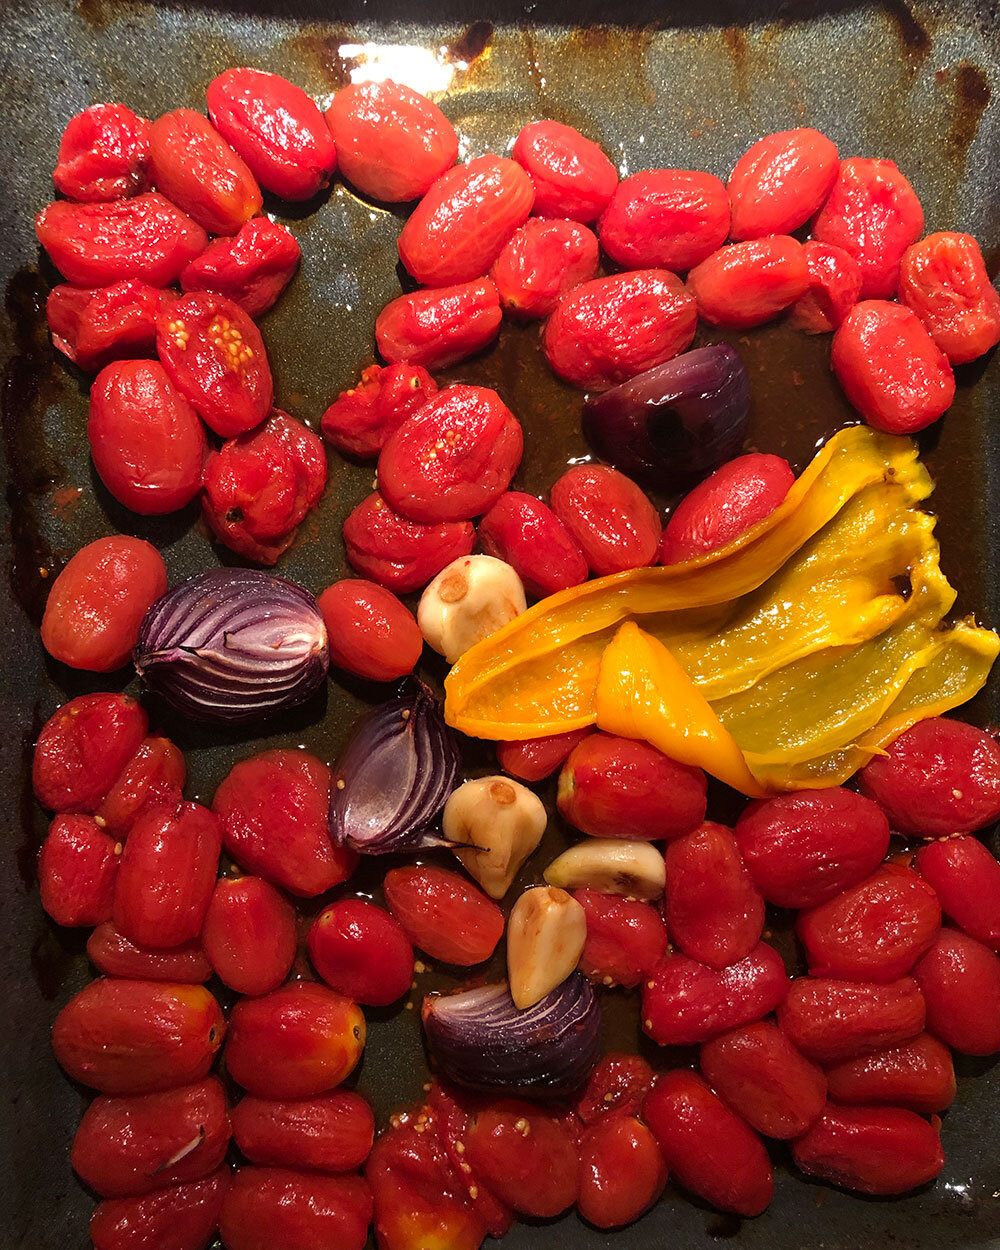
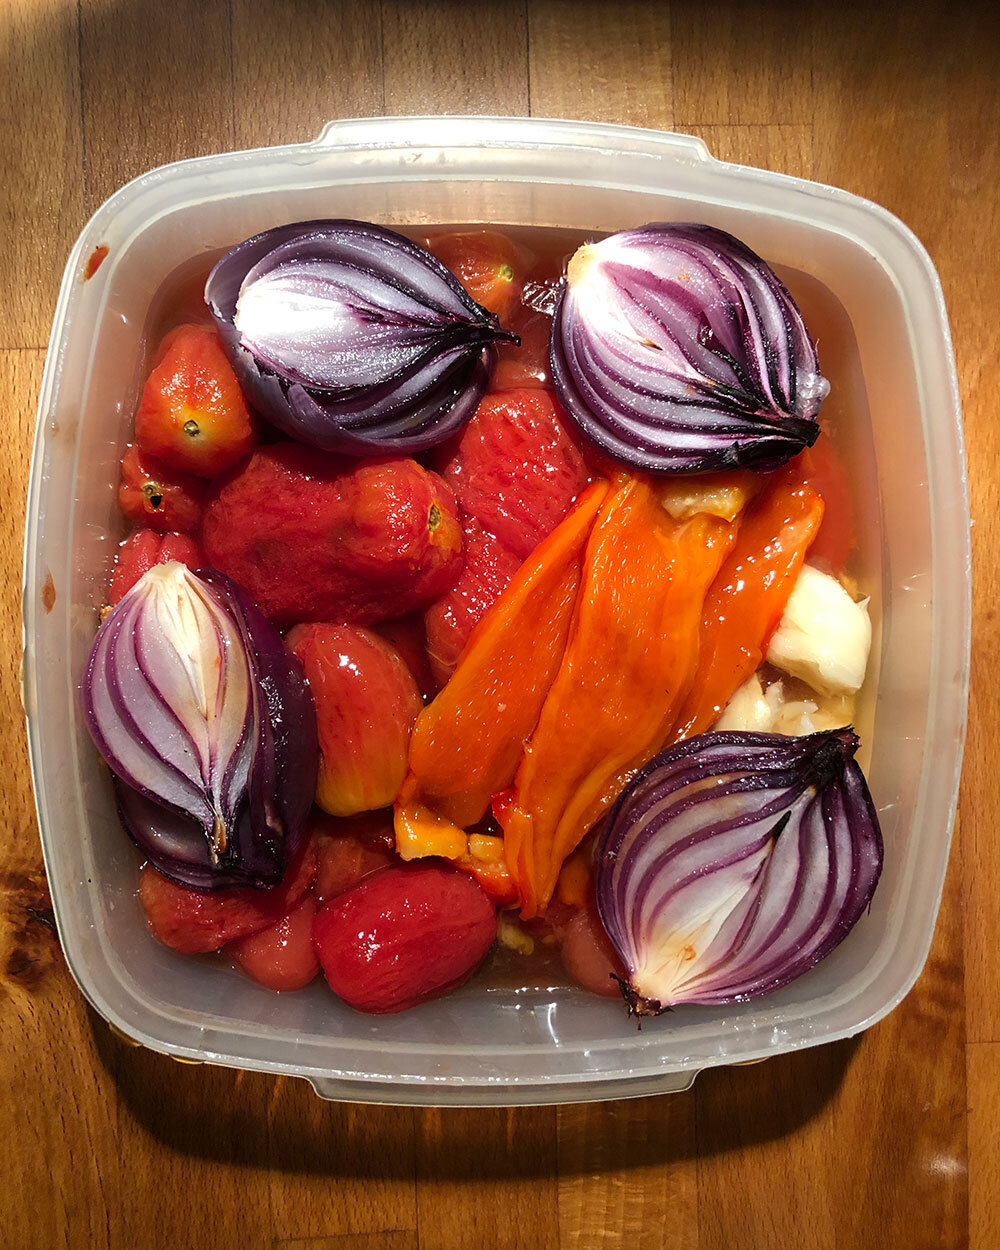
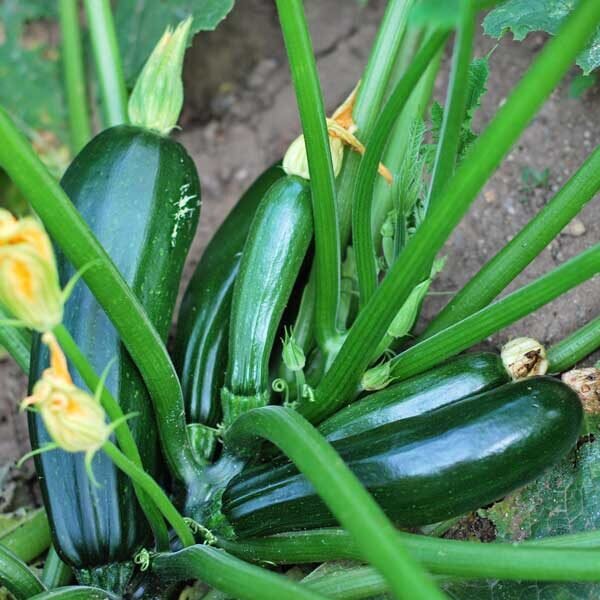
Don't forget to enjoy your delicious tomatoes once you've removed the seeds! Our fresh salsa or tomato sauce with zoodles are two great ways to use them - find the videos on our "In the Kitchen" page. Like and subscribe to our YouTube channel for more videos like this!!

Roasted Vegetable Pasta Sauce 

By Jamie Levato, Education Director

Roasted Vegetable Pasta Sauce
Adapted from
The Complete Book of Small Batch Preserving by Ellie Topp and Margaret Howard

3EAE064C-D424-4E4D-8904-FEBE387D0A86.jpeg

*Makes: 3 ½ cups (875 mL)*

I love The Complete Book of Small Batch Preserving by Ellie Topp and Margaret Howard. It is packed with interesting and delicious recipes for preserving the harvest. This is a great recipe for using your garden or CSA share produce! It is tasty and easy. I am going to walk you through the steps and my modifications. PLEASE NOTE: This recipe is suitable for canning as written and should not be modified if you want to can it. That being said, the recipe does not make a lot of sauce so it is also great for just eating or freezing. Personally, I do not like to heat up the kitchen with the canner, unless I have a full load to process. When I tested this recipe, I made modifications and I decided to freeze it.

Skip down to the recipe.

Tomatoes1.jpg

Step One

On a lightly greased baking sheet place: tomatoes, garlic, onions, and pepper. Roast for 45 mins (or until soft and blistered) at 450° F in the oven. Remove the garlic after 12 to 15 mins.  Let cool.

Since tomatoes are all different sizes, I would suggest sticking with the 2.5 lbs of plum tomatoes. For me, that was 64 Juliet tomatoes from the PYO section at PFP. It is also about 8 of the Plum Regal tomatoes that have been in the “sauce pack” choice item at CSA pick up. I made the recipe twice, once with a combination of Juliets and some San Marzanos from my garden and another time just with Juliets. I used a red pepper one time and a yellow pepper the other time. Both worked well. In one batch, I used the 2 small onions that were called for, but in the other batch I used only one because it seemed like too much.

tomatoes2.jpg

Step Two

Peel the skin off tomatoes; Sit a bowl underneath to catch the tomato juice. Squeeze out the soft parts of the onions and garlic cloves. Peel and  seed the pepper. Blend roasted ingredients in a food processor until smooth.

I found it easiest to peel the skin off the tomatoes while they were still in the pan so the pan would catch the juices. Next, I squeezed tender parts of the onions and garlic out of their papery skin and took care of the pepper. I like to save all vegetable scraps in a bag in the freezer to make stock with later. I put all the roasted ingredients into my food processor along with the pan drippings. Of course, I used my favorite kitchen tool, the rubber spatula, to get every last drop!

Step Three

Transfer the puree into a stainless steel or enamel saucepan. Add the remaining ingredients. Bring sauce to a boil on high. Lower heat and let boil uncovered for 15 mins or until texture is to your liking. Stir frequently.

After blending until smooth, I heated the puree in my stock pot with the remaining ingredients.I used oregano that I had harvested and dried from my garden. Because I had decided I would freeze the sauce, I only added half of the balsamic vinegar. If I were to do it again, I would omit the sugar because it was quite sweet with the sugar and only half of the balsamic since the pepper and onion and even the tomatoes add so much sweetness. You will notice that the final photo with the freezer tubs shows more than the 3.5 cups this recipe is supposed to make. I think this is the case for two reasons. 1. I mixed my two batches together; and 2. It was pretty thick so I did not cook it down for 15 minutes as suggested by the recipe.

tomato4.jpg

Step Four

Preserve: Ladle into hot pint mason jars leaving ½ headspace and process in a boiling water bath for 35 min. Review the procedure for waterbath canning here.

If you are going to can this recipe, please remember to avoid modifying the recipe. I froze it by ladeling into tubs leaving space for it to expand, capping and labelling with the contents and the date. I also like to keep a note on the side of my refrigerator with all of the contents of the freezer listed so I know what I have.

When you are ready to serve, prepare your pasta or vegetable noodles and top with the sauce. You can also make it a pasta primavera by sauteing additional veggies like carrots, zucchini, and fennel and serving them on the side or tossed with the pasta. I hope you enjoy the recipe! Please share your suggestions, questions, and modifications in the comments below.

Ingredients:

10 plum tomatoes, about 2 ½ lbs (unpeeled)
4 garlic cloves (unpeeled)2 small onions (unpeeled)
1 sweet red pepper
¼ cup balsamic vinegar
1 tbsp freshly chopped oregano (or 1 tsp dried)
1 tsp granulated sugar
1 tsp salt


Steps:

  1. On a lightly greased baking sheet place: tomatoes, garlic, onions, and pepper. Roast for 45 mins (or until soft and blistered) at 450° F in the oven. Remove the garlic after 12 to 15 mins .  Let cool.

  2. Peel the skin off tomatoes; Sit a bowl underneath to catch the tomato juice. Squeeze out the soft parts of the onions and garlic cloves. Peel and  seed the pepper. Blend roasted ingredients in a food processor until smooth.

  3. Transfer the puree into a stainless steel or enamel saucepan. Add the remaining ingredients. Bring sauce to a boil on high. Lower heat and let boil uncovered for 15 mins or until texture is to your liking. Stir frequently.

  4. Preserve: Ladle into hot pint mason jars leaving ½ headspace and process in a boiling water bath for 35 min.

From Sky to Soil: One Former Flight Attendant's Journey to Becoming a Farmer

written by Beth Hentschel, Farm Intern

The dirt will never come out of the cracks in your hands.” 

This was what Leon told me over the phone before I started working at the farm, warning me what to expect in my first days in the field. In my mind I chuckled. I’d been a flight attendant the past ten years. There were no cracks in my hands.

In training at American Airlines we go though “Image” which is training on how to keep your lipstick looking fresh and your hair and uniform looking tidy at the end of a twelve hour day and, famously, we are taught to keep our hands looking polished and immaculate.

That phone call was back in April, when the pandemic had already closed down New York state. While flight attendants are considered essential workers, demand for air travel had fallen off a cliff and the airlines all found themselves incredibly overstaffed. They began to offer leaves of absence to anyone who wanted one. 

I leapt at the chance to take a summer away from flying and experience life in a line of work I had been interested in for years. I started farming in May. 

image1.jpeg

My first day at the farm we seeded, or planted seeds into trays. I learned that seeds like to be buried twice their width down. We transplanted seedlings that had already had several weeks to grow in the greenhouse into the fields. For the first time I rode around on the back of the transplanter, a tractor fitted with seats behind it that float just over the rows so we can transplant the seedlings from their trays into the ground. We harvested hundreds and hundreds of pounds of radishes and Hakurei turnips and arugula. 

I was amazed at how fast and organized the other farmers were, moving from one task seamlessly to another, organized and holding the day's many moving parts in their minds. 

I was amazed at how dirty we all got. Every single day.

beth2.jpg

As we moved into summer I have continued to learn from my fellow farmer’s example how to work as a team. I'm learning how to adapt the plan to the weather, to the plants that aren't ready when you thought they would be and to the plants that came in sooner than you planned and to the seeds that didn’t germinate and then to change the plan again. My fellow farmers have taught me that it is possible to work in July's heat and without complaint, and that you can rally again, and again, and again. As many times as it takes to get the harvest in.

It's a pleasure to work alongside people doing their hearts' work.

In addition to all of the field work, I have really enjoyed running the CSA distribution on Saturdays mornings. It is so deeply satisfying to give the food we grew from tiny seeds, moved to the field, weeded, watered and then harvested -- it is so satisfying to then actually hand them to our members, who will go home and use them.

beth4.jpg

The summer internship at Poughkeepsie Farm Project is usually three months long. I began mine a month early, in May, because of the pandemic. But even four months wasn't enough. By the end of July I was beginning to feel sad that I would be leaving at the end of August and wouldn’t see the winter squash or the potatoes we planted get harvested. The thought of leaving the farm and going back to working indoors, where it is air conditioned and you always stay clean, was really starting to get me down. And then, another reprieve: they asked if I’d be willing to stay on until Thanksgiving. Again I jumped at the chance. 

After three months in the field I found out Leon was right. The dirt does not come out of the newly formed cracks in my hands. And I hope it doesn't anytime soon.

beth1.jpg

Make Italian Zoodle Spaghetti with SonyaJoy

ITALIAN ZOODLE SPAGHETTI
serves 12

Ingredients

2 medium zucchini
3-4 fresh tomatoes
1 sweet onion
2 cloves garlic
1 small bunch basil
½ cup Italian cheese blend or parmesan
1 loaf crusty Italian bread
Salt and pepper to taste

Directions

Remove peel from the sweet onion, and cut into a medium dice.
Remove peel from garlic and mince or finely grate. In a medium pot, cook onion in a tablespoon of olive or any vegetable oil.
After 4 minutes, add the garlic and cook until fragrant, an additional 2 minutes.
Quarter tomatoes and remove the seeds. Cut tomatoes into a large dice and cook with the onions and garlic, simmering until most of the water has evaporated, about 20 minutes.
Create “zoodles” by twisting the zucchini in a spiralizer. Add the zoodles into the hot tomato sauce to warm. Serve sprinkled with cheese and with a piece of toasted Italian bread.

Recipe Adapted by Chef Key


Prepara Espagueti Italiano del Zoodle con Lala M

ESPAGUETI ITALIANO DEL ZOODLE
sirve 12

ingredientes

2 calabacínes medianes
3-4 tomates frescos
1 cebolla dulce
2 dientes de ajo
1 manojo pequeñe de albahaca
½ taza de mezcla de queso italiano o parmesano
1 hogaza de pan italiano crujiente
Sal y pimienta al gusto

Instrucciones

Retire la cáscara de la cebolla dulce y cortar en dados medianos.
Retire la cáscara del ajo y pique o ralle finamente.
En una olla mediana, cocine la cebolla en una cucharada de oliva o cualquier aceite vegetal.
Después de 4 minutos, agregue el ajo y cocine hasta que esté fragante, otros 2 minutos.
Triture los tomates y quite las semillas. Corte los tomates en dados grandes y cocine con las cebollas y el ajo, hirviendo a fuego lento hasta que se haya evaporado la mayor parte del agua, aproximadamente 20 minutos. Crea "zoodles" girando el calabacín en un espiralizador. Agregue los zoodles a la salsa de tomate caliente para calentar.
Sirve espolvoreade con queso y con un pedazo de pan italiano tostado.

Receta adaptada por Chef Key

Make Vietnamese Spring Rolls with SonyaJoy

VIETNAMESE SPRING ROLL
serves 12

Ingredients

1 package spring roll wrappers
1 package mai fun or other thin rice noodle
1 small bunch mint or basil
2 carrots
1 cucumber
2 tablespoons honey, maple syrup or sugar
1 teaspoon sea salt
¼ cup vinegar (apple cider or white)
¼ cup water

Directions

Peel carrots and cucumber if desired.
Spiralize vegetables by twisting veggie in a spiralizer.
In a medium bowl, mix vinegar, water, sweetener and salt. Toss spiralized veggies into the vinegar mixture. Allow to sit for at least 15 minutes or for best flavor as long as overnight.
Drop rice noodles into boiling water and remove from heat.
Allow to stand 3-4 minutes, then drain and rinse with cold water.
Wet the rice paper on both sides by smoothing a little warm water onto the surface with fingertips. Wait 20 seconds until it has become flexible. Place a small amount of rice noodle, vegetable and herbs on the side closest to you, roll toward the center, fold in the sides and roll all the way up.
Serve with soy sauce, chili sauce or lime juice for dipping!

Recipe Adapted by Chef Key


Prepara Rollitos Vietnamitas de Primavera con Lala M.

Rollitos Vietnamitas de Primavera
sirve 12

ingredientes

1 paquete de envoltorios de pasta de arroz
1 paquete de fideos de arroz delgados o mai fun noodles
1 manoje pequeñe de menta o albahaca
2 zanahorias
1 pepino
2 cucharadas de miel, jarabe de arce o azúcar
1 cucharadita de sal ¼ taza de vinagre (sidra de manzana o blanca )
¼ de taza de agua

Instrucciones

Pele las zanahorias y el pepino si lo desea.
Espiralice las verduras girando las verduras en un espiralizador. En un tazón mediano, mezcle vinagre, agua, edulsante y sal. Mezcle las verduras en espiral en la mezcla de vinagre. Deje reposar durante al menos 15 minutos o para obtener el mejor sabor durante toda la noche.
Coloque los fideos de arroz en agua hirviendo y retírelos del fuego. Deje reposar de 3 a 4 minutos, luego drene y enjuague con agua fría.
Moje el papel de arroz por ambos lados alisando un poco de agua tibia sobre la superficie con la punta de los dedos. Espere 20 segundos hasta que se haya vuelto flexible. Coloque una pequeña cantidad de fideos de arroz, vegetales y hierbas en el lado más cercano a usted, gíreles hacia el centro, dóbleles por los lados y gíreles hacia arriba.
¡Sirve con salsa de soja, salsa de chile o jugo de lima para mojar!

Receta adaptada por Chef Key

Prepare Senegalese Summer Salad with SonyaJoy

SENEGALESE SUMMER SALAD
serves 6-8

Ingredients

1 cup dry quinoa
3-4 sprigs fresh mint
3-4 sprigs fresh parsley
1 red onion
1 cucumber
1 small watermelon
1 lemon ⅛ cup oil (olive, grapeseed, vegetable, etc)
½ teaspoon salt

Directions

In a small pot with a lid, bring quinoa, 2 cups water and salt to a simmer. Cover and cook for 12-15 minutes until quinoa has absorbed all water and you can see the curl of the grain. Remove from heat and cool.
Grate or chop red onion.
Cut cucumber in half lengthwise and remove seeds with a spoon. Cut each piece in 4 long strips. Dice.
Cut melon in half. Remove about ½ inch of the rind on both ends, exposing the colorful melon. Place the flat surface of the melon on the cutting board, slice between the rind and fruit, removing just the rind. Dice the remaining fruit, removing seeds as you find them.
Cut lemon in half, juice by hand or a juicer.
Mix all ingredients together.

Recipe adapted by Chef Key


Prepara Ensalada de Verano Senegalese con Lala M.

ENSALADA DE VERANO SENEGALESE
sirve para 6-8

Ingredientes

1 taza de quinua seca
3-4 ramitas de menta fresca
3-4 ramitas de perejil fresco
1 cebolla roja 1 pepino
1 melón pequeño
1 limón
⅛ taza de aceite (oliva, semilla de uva, vegetales, etc.)
½ cucharadita de sal

Instrucciones

En una olla pequeña con tapa, lleve la quinua, 2 tazas de agua y sal a fuego lento. Cubra y cocine durante 12-15 minutos hasta que la quinua haya absorbido toda el agua y pueda ver el rizo del grano. Retirar del fuego y dejar enfriar.
Rallar o picar la cebolla roja.
Corte el pepino por la mitad a lo largo y retire las semillas con una cuchara.
Corta cada pieza en 4 tiras largas. Dado.
Cortar el melón por la mitad. Retire aproximadamente ½ pulgada de la corteza en ambos extremos, dejando al descubierto el colorido melón. Coloque la superficie plana del melón en la tabla de cortar, corte entre la cáscara y la fruta, eliminando solo la cáscara. Corte en dados la fruta restante, quitando las semillas a medida que las encuentre.
Corte el limón por la mitad, jugo a mano o un exprimidor. Mezcle todos los ingredientes juntos.

Receta adaptada por Chef Key

Make Fresh Tomato, Sweet Corn, & Black Bean Salsa with SonyaJoy

FRESH TOMATO, SWEET CORN, & BLACK BEAN SALSA
serves 8

Ingredients
3 medium tomatoes
2 ears fresh sweet corn
1 small bunch cilantro
1 garlic clove
1 lime
15oz can of black beans
bag of tortilla chips

Directions

Cut tomatoes in quarters and remove seeds with fingers.
Dice and place in a medium bowl.
Shuck corn by peeling the green husk away from the open end. Remove all fine silks. Wash corn, dry with a towel. Cut kernels off of cobs with an adult chef knife. Kids get assistance!
Grate or mince garlic.
Gently roll the lime under your palm with pressure to soften. Cut in half and juice by hand or with a juicer.
Roughly chop cilantro, including the stems.
Open can of beans. Pour contents into a colander and rinse.
Stir all ingredients together.
Season with salt immediately before serving.

Recipe Adapted by Chef Key


Prepara Salsa de Tomate Fresco, Maíz Dulce y Frijoles Negros con Lala

SALSA DE TOMATE FRESCO, MAÍZ DULCE Y FRIJOLES NEGROS
sirve 8

Ingredientes

3 tomates medianos
2 mazorcas frescas de maíz dulce
1 racimo pequeño de cilantro 1 diente de ajo
1 limon verde
15 oz lata de frijoles negros
bolsa de chips de tortilla

Instrucciones

Corte los tomates en cuartos y quite las semillas con los dedos. Corte en dados y coloca en un tazón mediano.
Pele el maíz con la cáscara verde lejos del extremo abierto.
Elimine todas las sedas finas. Lave el maíz, secale con una toalla. Corte los granos de las mazorcas con un cuchillo de cocinero adulto. ¡Los niños reciben ayuda!
Ralle o pique el ajo.
Pasa suavemente el limón verde debajo de la palma de la mano con presión para que se ablande.
Corte a la mitad y saque jugo a mano o con un exprimidor.
Pique el cilantro, incluidos los tallos.
Abre la lata de frijoles. Vierte el contenido en un colador y enjuague.
Revuelve todes les ingredientes juntes. Sazone con sal inmediatamente antes de servir.

Receta adaptada por Chef Key

Make Lebanese Cucumber Yogurt Dip with SonyaJoy

LEBANESE CUCUMBER DIP
serves 8

Ingredients

2 cups Greek yogurt
2 cucumbers
1 lemon
3-4 sprigs of fresh mint
2 cloves garlic 1
teaspoon salt
4 pita

Directions

Cut cucumber in half lengthwise.
Scoop out seeds with a spoon.
Grate the cucumber or chop finely.
Zest the lemon by swiping the peel along a fine grater.
Cut lemon in half. Juice the lemon by hand or use a juicer.
Grate or mince the garlic. Save the remaining garlic for next week’s recipe! Pick mint leaves off the stems. Cut into thin ribbons using scissors or knife.
Stir to combine all ingredients. Add some black pepper if you like.

Recipe Adapted by Chef Key farmproject.org/foodpower


Prepara Aderezo de Pepino Libanés con Laura

Aderezo de Pepino Libanés
sirve 8

ingredientes

2 tazas de yogur griego
2 pepinos
1 limón
3-4 ramitas de menta/ hierbabuena fresca
2 dientes de ajo 1 cucharadita de sal
4 pan pitas

Pasos

Corte el pepino por la mitad a lo largo. Saque las semillas con una cuchara.
Ralla el pepino o picale finamente. Ralle la cáscara del limón deslizandola a lo largo de un rallador fino. Cortar el limón por la mitad.
Exprime el limón a mano o use un exprimidor. Ralla o pica el ajo.
Quite las hojas de menta de los tallos. Corte en cintas delgadas con unas tijeras o un cuchillo.
Revuelve para combinar todes les ingredientes. Agregue un poco de pimienta negra si le desea.

Harvest Carrots from Your Container Garden with Kathryn

Today Kathryn shows us how to harvest the carrots she planted in her container garden at home.

In the previous video Kathryn planted carrots from seed in a 10 inch container at the end of April. Now that about 100 days have passed, we are going to dig them up and talk about replanting for the Fall! This container ended up yielding about 40 carrots, which weighed roughly 4 pounds.

Supplies:

    A container with carrots that are ready to harvest
    A watering can or hose to water and loosen the soil
    A hand trowel (optional) to help dig out the roots

Steps:

Determine if your carrots are ready to harvest by looking for the top of the root poking out the soil, and by using your seed packet as a guide. Different varieties, and growing conditions will affect the number of days you will need to wait to harvest.

Water the soil deeply with your watering can or hose.

Grab the top of the root of the carrot, which is sticking out the soil, and wiggle it loose from the soil. You can use a hand trowel to help dig them out if necessary.

Rinse your carrots off, and remove the greens before storing them in your fridge.

Use the greens like an herb for seasoning dishes or in pesto! Use the roots to snack on raw, in a dish like our Vietnamese Spring Rolls, or with other vegetables in a pickle recipe, soup, or salad. You can find more recipes on our YouTube channel!

If you live in the Poughkeepsie area, you can replant carrot seeds in mid to late August for a Fall harvest. You will want to harvest them again before the soil freezes completely, but they can survive a frost, and will get sweeter!

Watch the video to Learn to Grow Carrots in Containers on our YouTube.

Food Share Mapping

Food Share Mapping: Growing Community Through the Food Share Program at Poughkeepsie Farm Project

sharebanner.jpg

If you’ve tasted the produce we grow at PFP, you know it’s delicious - but have you ever wondered where the rest of our harvest goes? This summer we had Vassar Community Fellow Ben Bachman working with our team to create a StoryMap that explores how our Food Share Program makes PFP produce available in Poughkeepsie and all throughout the Hudson Valley. Our Food Share program is one part of our commitment to food justice and addressing food insecurity in Poughkeepsie - with 40,000 pounds of produce donated in 2019 alone.

Scroll through to discover interactive maps and other content that illustrates our effort to grow community by sharing our harvest.


Click on the image below to go to the story map: