I’d like to start by saying THANK YOU Mushroom Shed for donating Oyster Mushroom Growing Kits! These kits, along with short instructional videos made it possible for youth interns, educators, and program participants to grow oyster mushrooms in a 5 gallon bucket or a small table top container. Mushroom Shed’s mission is: Grow, Connect, Gather, Share and that was our plan for these kits. We had so mush fun watching the kits turn into food!
Check out their upcoming kit sale which will provide the funds needed to continue to donate mushroom kits and share in the harvest!
The kits contained everything we needed to grow our own mushrooms. Most importantly, spawn - sawdust inoculated with oyster mushroom mycelium (like the seeds of plants!)- from Sugarshack Mushrooms. The spawn needs food - in this case, used coffee grounds and cardboard, and a container. There were two options- a bucket with holes or a small plastic container, supplies like isopropyl alcohol, and materials to regulate air flow -paper towels, tape, or a lid with pre-made holes. (Note: find more about replicating this at home at the end of the article).
Read on to see the process and learn how this connects to soil building and reducing food waste!

Bucket kit materials

Finished kits
Why grow mushrooms?
They are delicious and good for you! Get the health benefits without the trip to the store. Low- tech methods work well at home for beginners with oyster mushrooms. They are high in protein, low in fat, and contain vitamins, minerals and other nutrients that make them a great addition to a meal.
It’s cheap and environmentally friendly. Grow them on food/agricultural/environmental waste products like coffee grounds and cardboard OR straw, wood chips, etc -there are lots of possibilities! Buckets and plastic quart containers are also re-usable and will give you multiple “flushes” or fruitings of mushrooms.
Reuse the spent kit in your garden to improve soil. Crumble it up and mix into a garden bed to improve your soil or (potentially) to grow a mushroom bed outside in your garden!
Learn all about mushrooms in the process! It’s so fun to watch the spawn turn into what we recognize as a mushroom, and to see how different they can look.
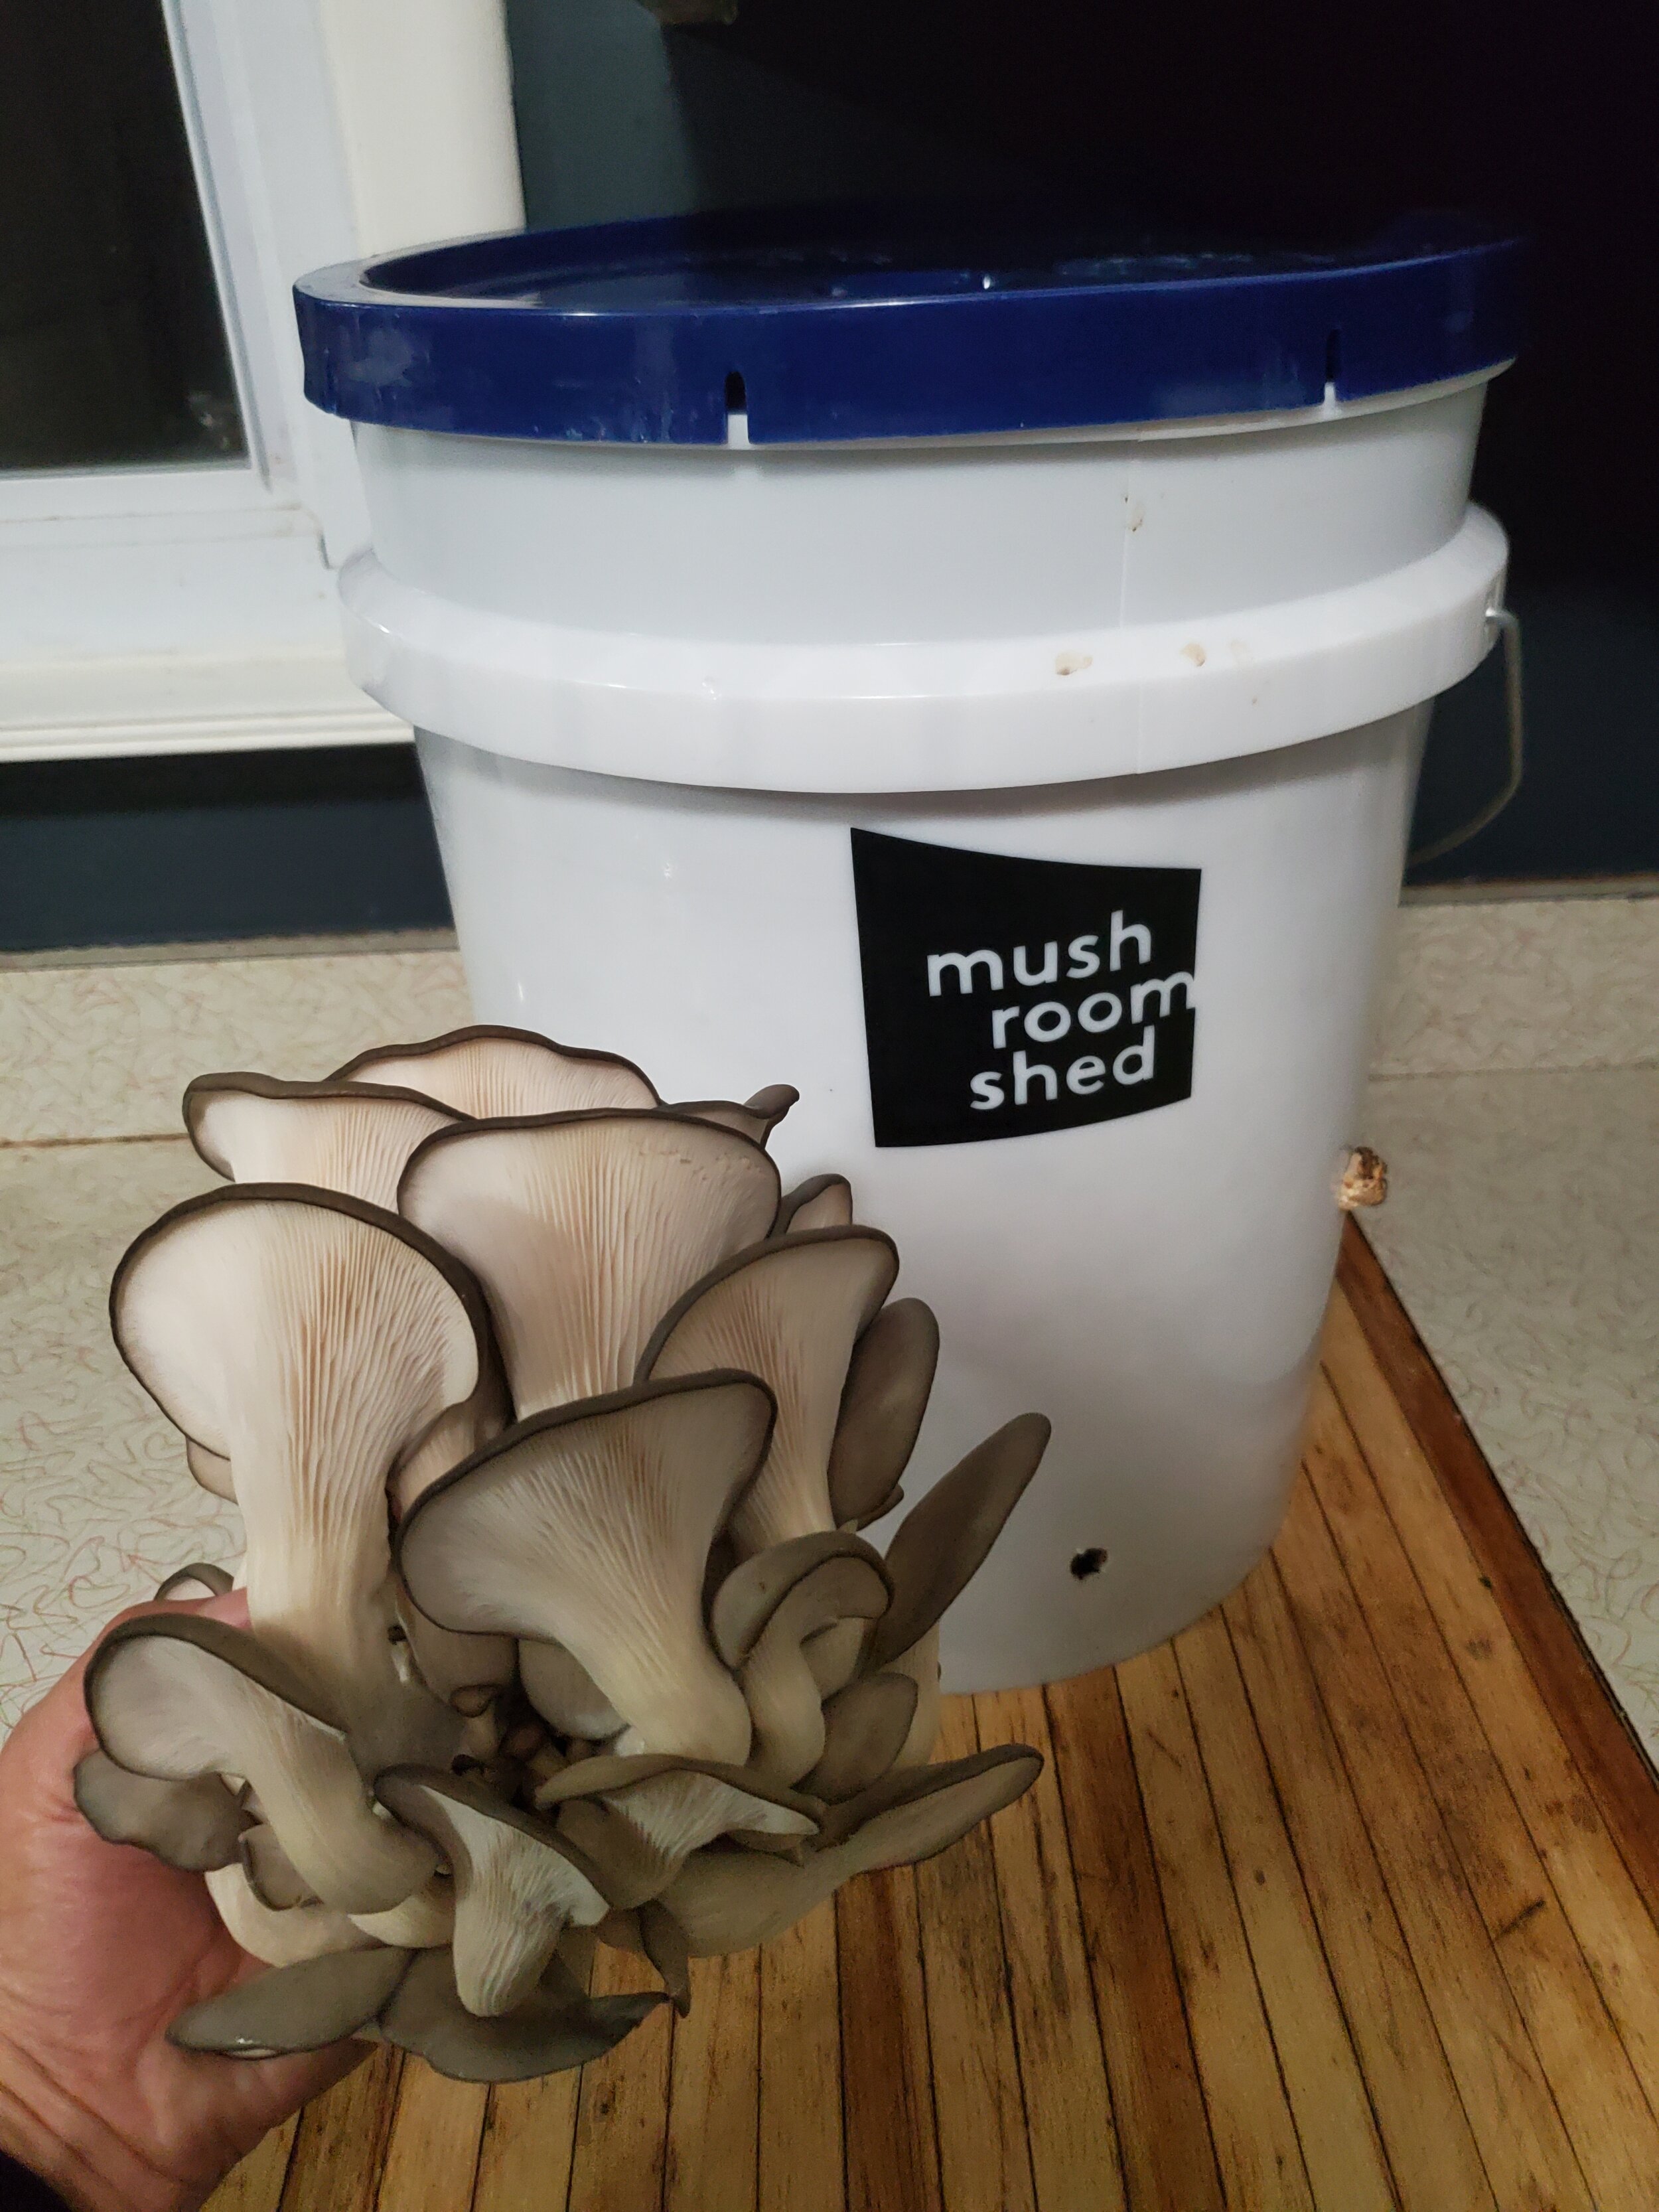
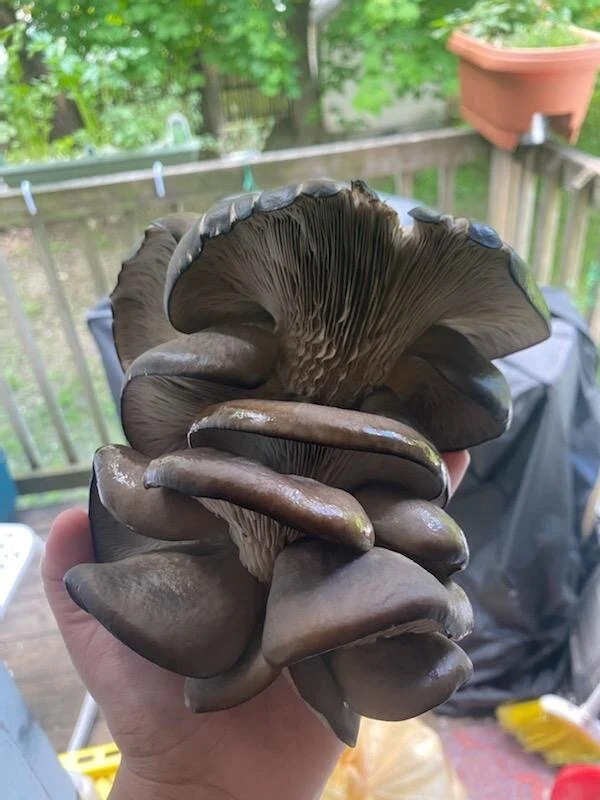
First harvest!

The process:
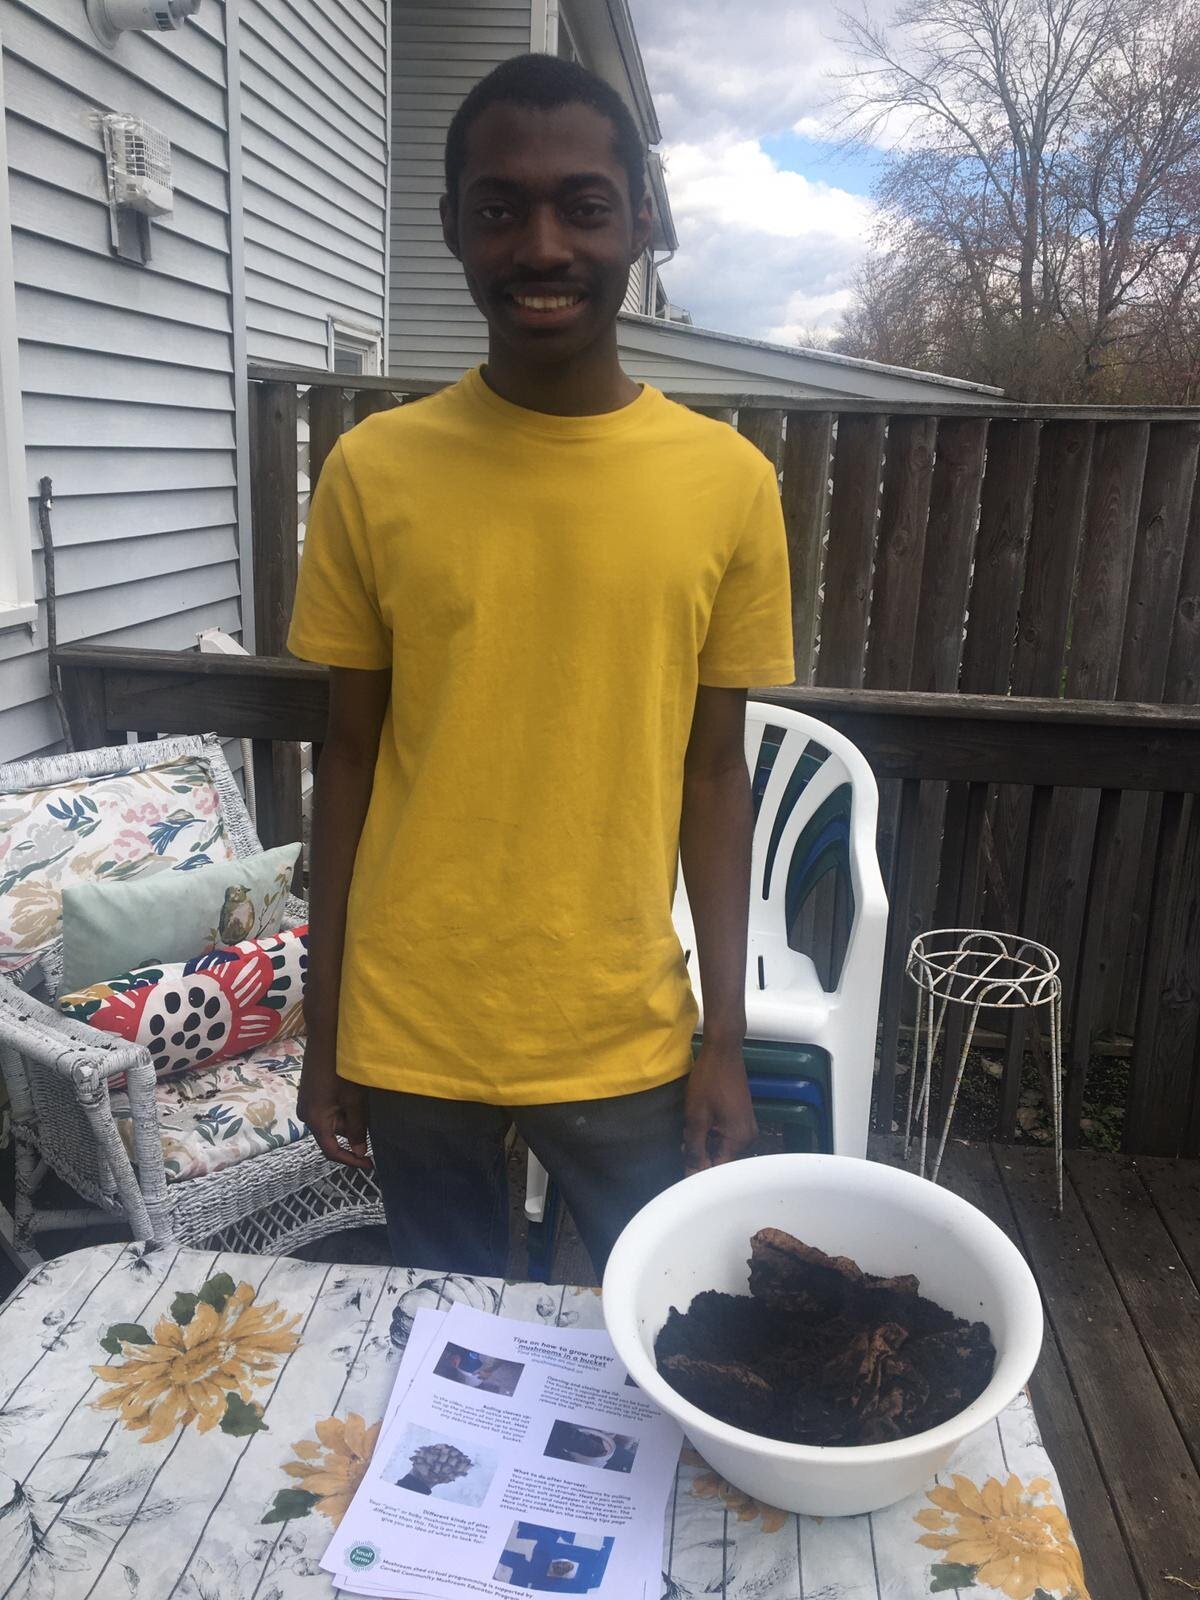
After the folks from Mushroom Shed dropped off our kits, youth interns and volunteers were given an introduction by staff to the many uses of mushrooms -culinary, environmental, economic, and in the garden - then watched the instructional videos while snacking on mushroom appetizers.

Snacks!

After the videos we went to the kitchen and got to work preparing our materials and buckets! Materials must be pasteurized using boiling water, then layered in the bucket or container, to give the spawn the best chance to take over and grow. Then, you close it up and wait!
The smaller kits went out to participants in our PFP@Home programs and through the Chamber of Commerce’ Workforce Development program via staff. These kits are great because they can work for any situation no matter how much space you have and they are a breeze to put together.

Now for the most fun part! After you put together your kit, the mycelium from your spawn starts to spread through the cardboard and coffee grounds, turning it white, until the mushrooms begin “pinning”. This can take different amounts of time depending on your kit and the temperature of your house. This step is when we got lots of questions about how different they all look. The pins are the baby mushrooms - the first stage of them fruiting- and need lots of water to stay moist (use a spray bottle to mist), but they grow fast. Just a few days later, you have mature mushrooms ready to harvest and cook!

Pinning in small container

Mycelium growing in a bucket kit
Along with the kit came instructions for cooking, and of course our staff and interns took advantage as food lovers. Some youth interns had not tried mushrooms before, but shared that their families were very excited to cook them up! Folks made soup, pasta with cream sauce and chipotles, and simple but delicious sautéed mushrooms with garlic and butter!


We can’t wait for our next harvest to try more recipes. Next we plan to re-use the kits in our gardens and see what will happen.
To watch the videos, learn more, or support this project, follow the links below!
Mushroom Shed Video links:
Bucket Kit: https://youtu.be/Tn-fE1hYwy0
Small Container Kit: https://youtu.be/0tw4EjSMZ2s
You can also make your own kit! Grow oyster mushrooms at home by using the supplies and directions listed in the videos. There are local and larger sources of spawn. Here are a few options I have used:
-Sugarshack Mushrooms (locally available for pick up)
-Fungi Ally (MA - shipping available)
-North Spore (ME- shipping available)
-Field and Forest (Midwest - shipping available)
To Learn More and support…
Mushroom shed is a community based project space for cultivating edible and medicinal mushrooms based in New Paltz, NY. Mushroom Shed is an experimental laboratory for educational workshops, a place to meet up for discussions about nutrition and self care, and a lab where visitors can explore art and the environment.
Mid-Hudson Mycological Association and Cornell Small Farms Program offer classes to teach about growing mushrooms indoors and outdoors, and more!